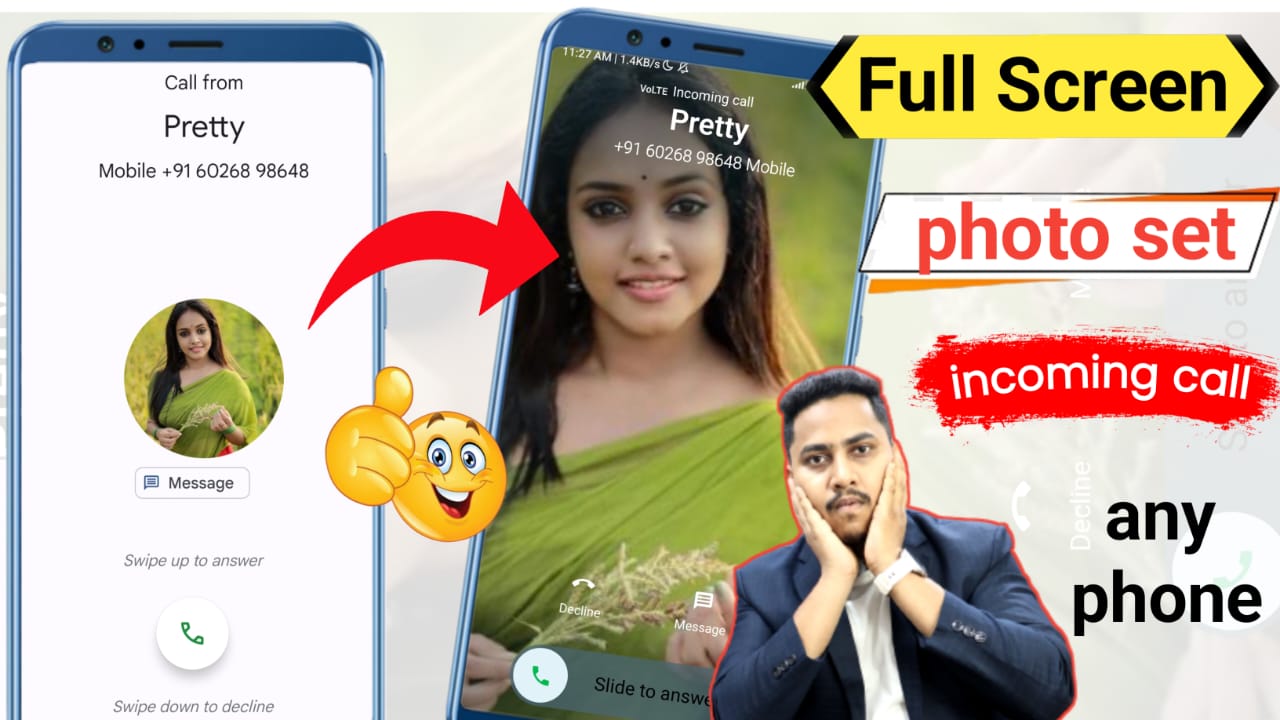
How to set full screen photo when someone calling
Setting a full-screen photo for incoming calls can vary depending on your device and operating system. Here’s a step-by-step guide:
For Android Phones
The exact process may differ depending on the brand (Samsung, Xiaomi, etc.), but the general steps are as follows:
Step 1: Assign a Photo to a Contact
- Open the Contacts or Phone app.
- Select the contact for which you want to set a photo.
- Tap the Edit or Pencil icon.
- Tap the profile picture or photo placeholder.
- Choose a photo from your gallery or take a new one.
- Adjust and save the photo.
Step 2: Enable Full-Screen Caller ID (if available)
Some Android devices have a specific setting:
- Go to Settings > Display > Incoming Call Style (or similar).
- Select Full-Screen or Large Photo.
Step 3: Use a Third-Party App (Optional)
If your device doesn’t support full-screen caller ID, download an app like:
- Truecaller
- Full Screen Caller ID
Follow the app’s instructions to set custom full-screen photos for calls.
For iPhone
iPhones allow full-screen photos for contacts, but by default, the photo might appear as a small circle unless set correctly.
Step 1: Assign a Full-Screen Photo
- Open the Contacts app.
- Tap the contact you want to edit.
- Tap Edit at the top-right corner.
- Tap Add Photo or the existing photo.
- Select a photo from your gallery or take a new one.
- Important: Ensure you crop the photo using the circle crop tool and don’t pinch to zoom out. Use the default zoom level or zoom in slightly.
- Tap Done to save.
Step 2: Test It
- Call your iPhone from another phone to confirm the photo displays full screen.
Pro Tips:
- High-resolution photos give better results.
- For Android, check your phone’s documentation, as some brands (e.g., Samsung) have unique caller ID customization features.
- Third-party apps may have more options for customization if your default settings are limited.
How to use truephone App
True Phone Dialer & Contacts is a powerful app for managing your calls and contacts more effectively. It replaces the default dialer and contact manager on Android with a more customizable interface. Here’s how to use the True Phone app step by step:
Step 1: Install the App
- Open the Google Play Store.
- Search for True Phone Dialer & Contacts.
- Tap Install and wait for the app to download.
Step 2: Set Up True Phone
- Open the app after installation.
- Grant necessary permissions:
- Allow access to contacts, phone, and call logs.
- This is required for the app to manage calls and contacts.
- Set it as the default dialer:
- The app will prompt you to make it the default dialer.
- Follow the on-screen instructions to replace your system’s default dialer.
Step 3: Navigate the Interface
- Dialer Tab:
- Use the dial pad to make calls.
- T9 search allows you to find contacts by typing their name or number on the keypad.
- Call History Tab:
- View a detailed log of recent calls with options to call back or message directly.
- Contacts Tab:
- Access and manage your contacts.
- Use the search bar to quickly find specific contacts.
- Long-press a contact to view more options like edit, delete, or add to favorites.
Step 4: Customize the App
- Open the Settings menu in the app (usually accessible from the three-dot menu or gear icon).
- Adjust the following:
- Themes: Choose light, dark, or custom themes for the interface.
- Display Options: Customize how contacts and call logs are displayed.
- Call Interface: Enable or disable full-screen caller ID, and adjust incoming and outgoing call screens.
- Set Gestures: Define swipe actions for call logs and contacts.
Step 5: Use Advanced Features
- Full-Screen Caller ID:
- Assign full-screen photos to contacts through the app or your gallery.
- Go to Settings > Call Screen > Full-Screen Photo and enable it.
- Speed Dial:
- Add frequently called contacts to speed dial for quick access.
- Dual SIM Support:
- If you have a dual-SIM phone, the app lets you manage calls and texts for both SIM cards seamlessly.
Step 6: Manage Contacts
- Add, edit, or delete contacts directly in the app.
- Use the Merge Duplicates feature to clean up your contact list.
Step 7: Handle Calls
- Incoming Calls:
- True Phone can replace the default call screen, offering a clean and customizable interface.
- Swipe gestures let you answer, decline, or send a quick message.
- During Calls:
- Access call recording (if supported), hold, or switch calls directly from the interface.
- Call Blocking:
- Enable call blocking in Settings > Call Blocking to filter spam or unwanted numbers.
Step 8: Back Up and Restore Contacts
- Go to Settings > Backup & Restore.
- Create a backup of your contacts to your device or Google Drive.
- Restore contacts when needed.
Pro Tips:
- Use T9 Search in the dialer to quickly find contacts.
- Regularly update the app for the latest features and bug fixes.
- Explore custom themes to match the app’s appearance to your preference.
By following these steps, you can effectively use True Phone Dialer & Contacts to enhance your phone’s call and contact management.
App Download Link – 